
Table of Contents
- Segments
- Segment Views
- How to Create a Segment
- Sharing Segments With Collaborators
- Managing Shared Segment Access
- Module Share Notifications
- Example
Under Supply Chain in the navigation bar, the Segments tab is used to manage the lists of factories created in the Network tab.
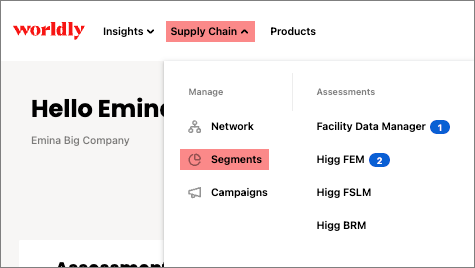
Segments
The Segments table shows a library of all saved segments, static and dynamic.
Use the search bar to search through your table.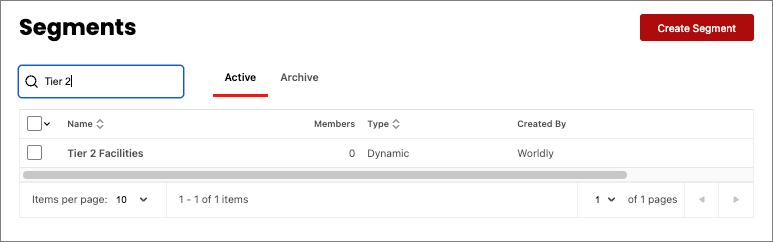
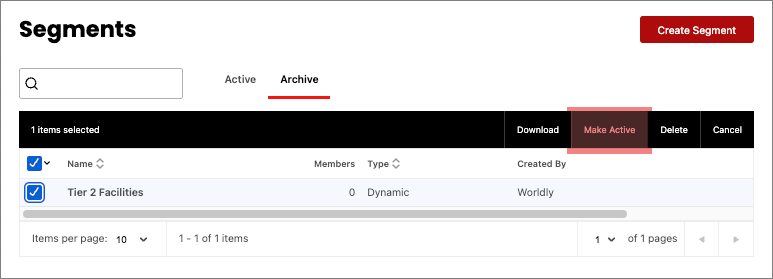
Click the check box next to a segment to add the segment to a campaign, download, archive, or delete the segment.
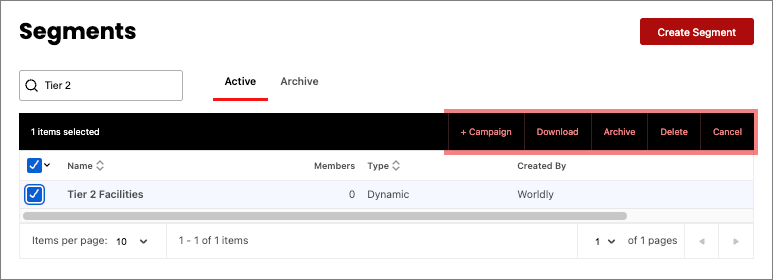
Clicking Archive will send the segment from the Active tab to the Archive tab.
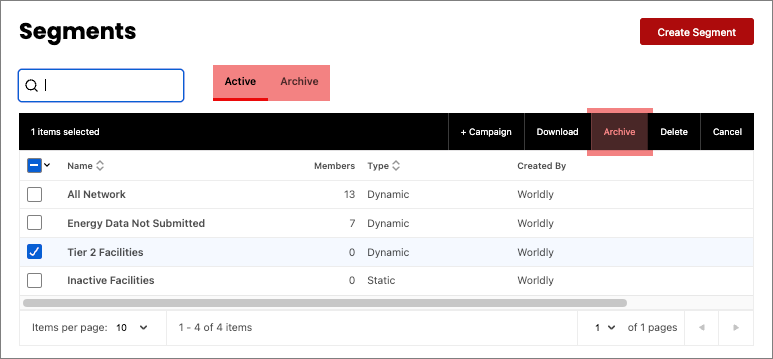
Reverse this action by clicking Make Active.
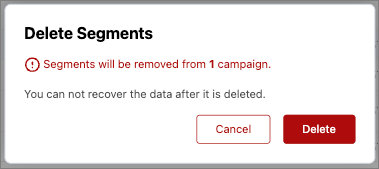
Selecting Delete will remove the segment from campaign(s). Check the pop-up box to see how many campaigns it will be deleted from. Note: You cannot recover data after it has been deleted.
Select the segment name to access a table of all applicable facilities within the segment.
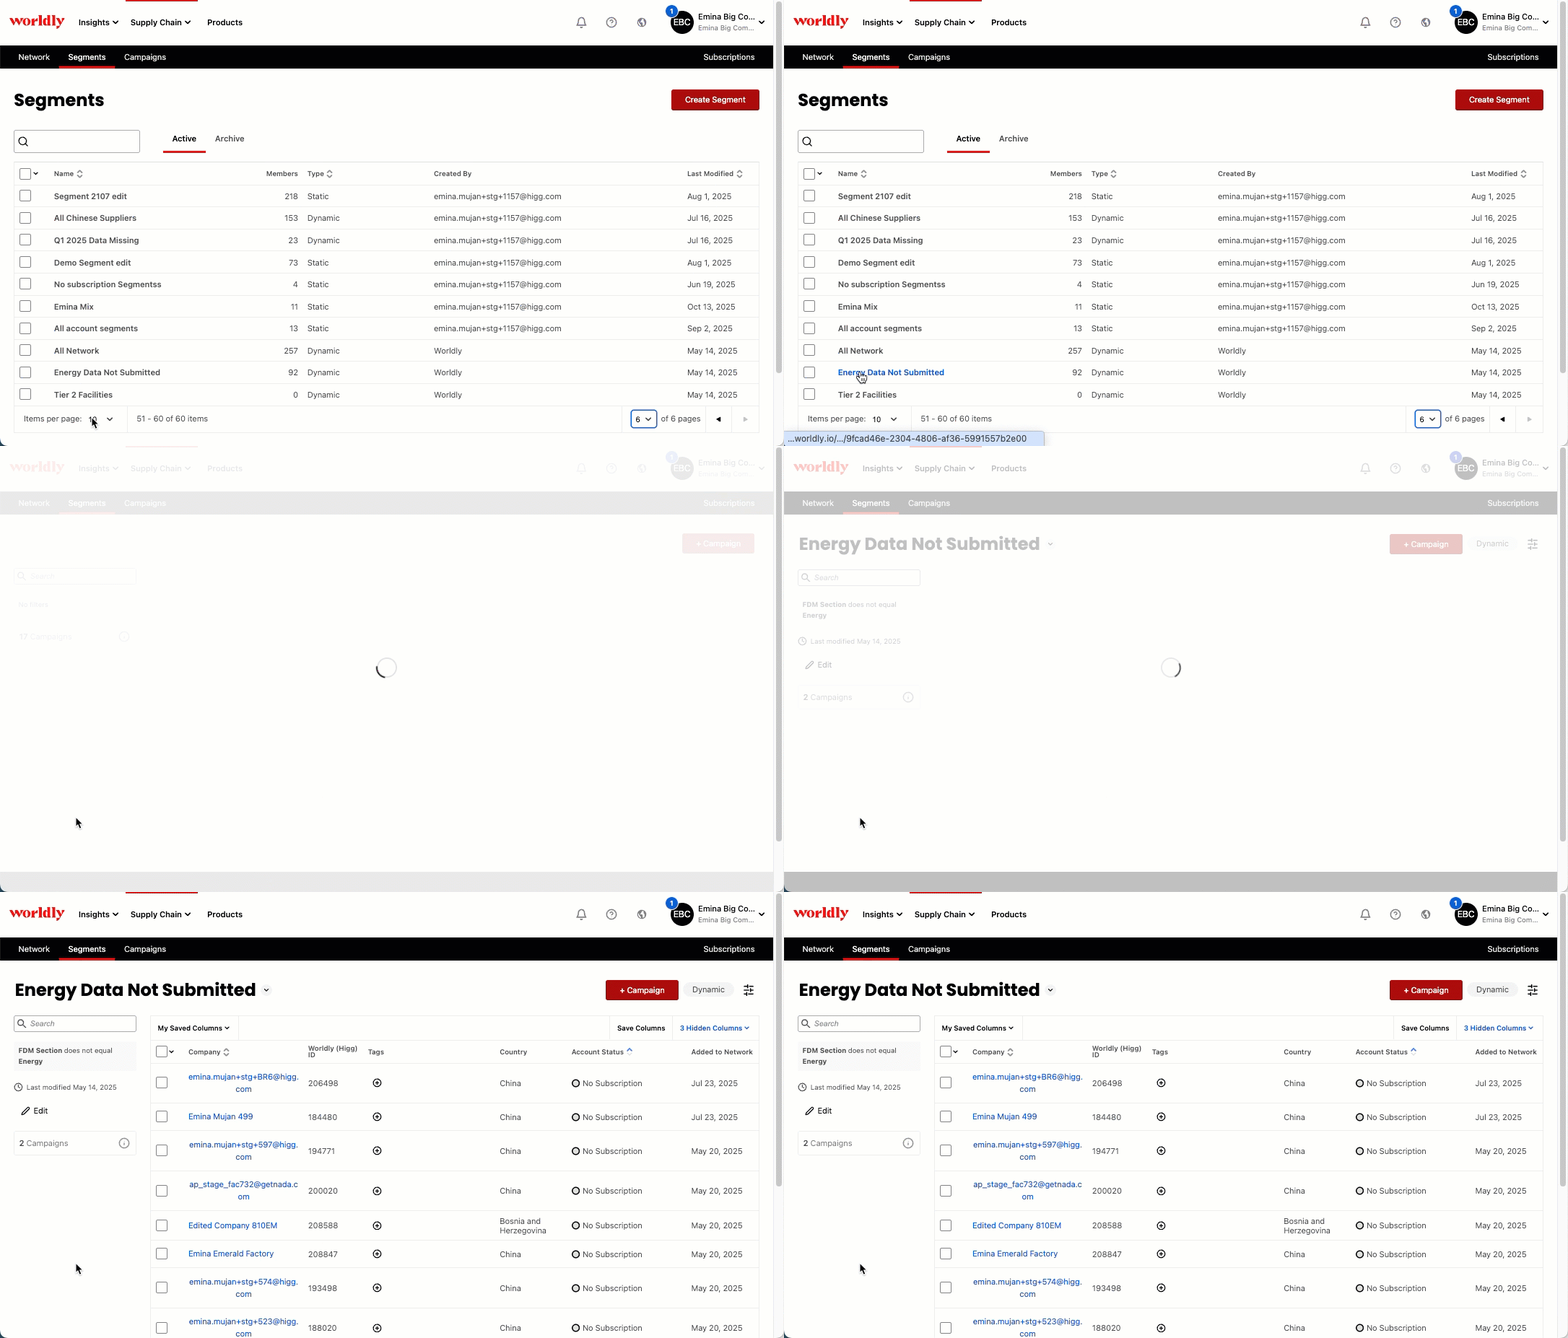
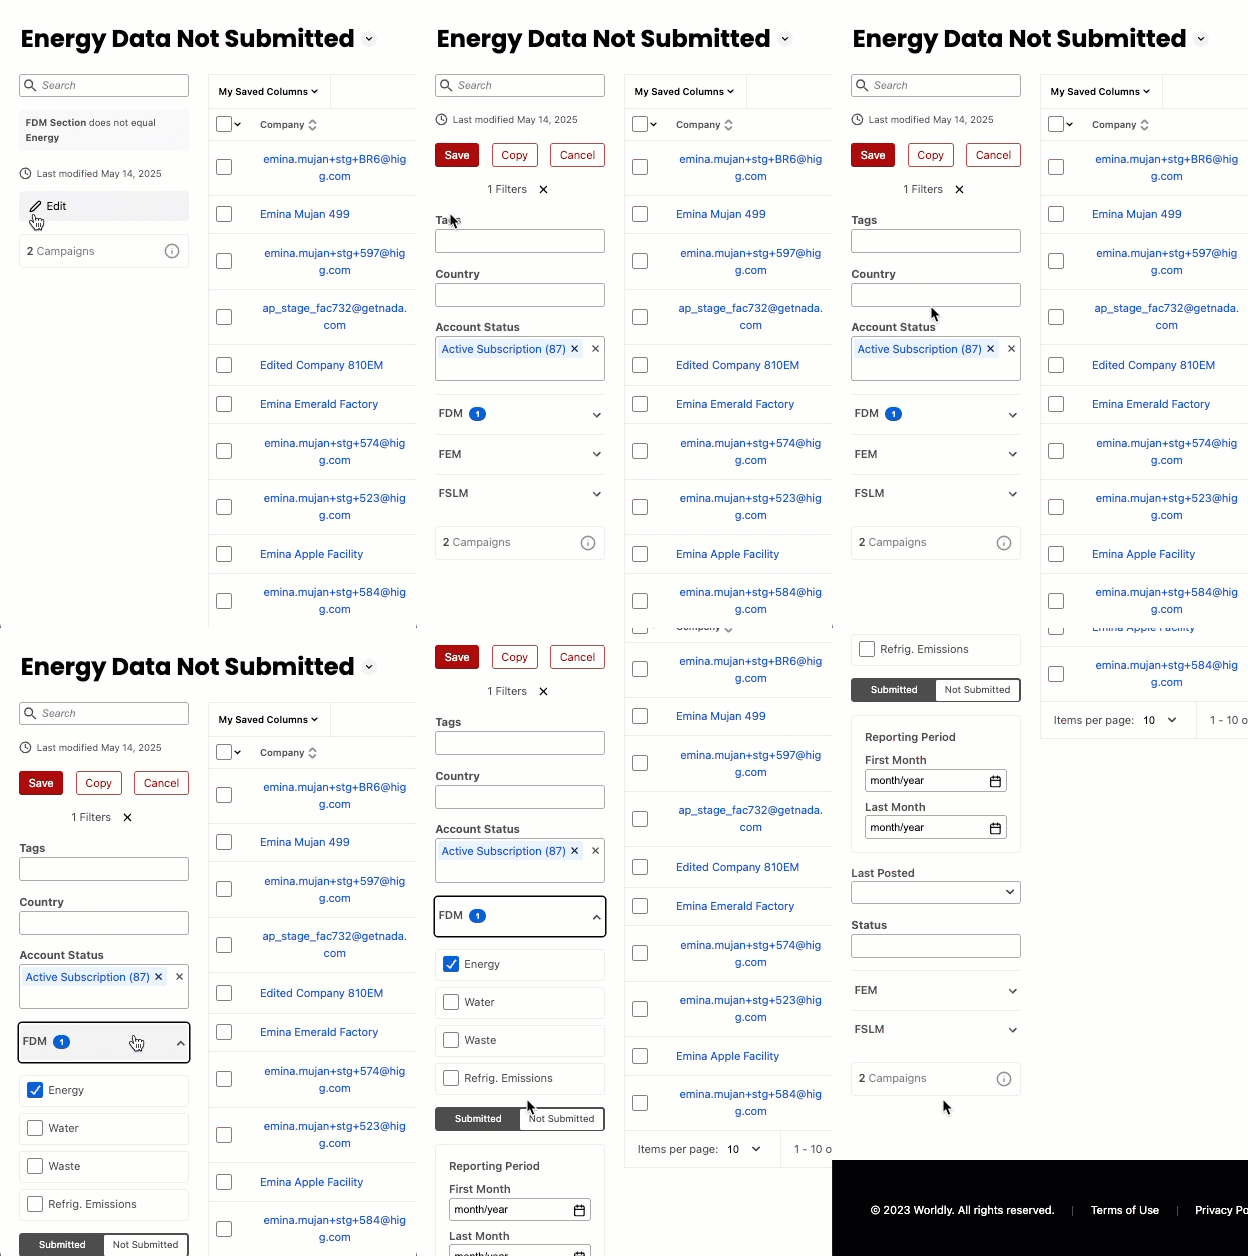
For example, clicking into Energy Data Not Submitted, which is a dynamic segment, we can see:
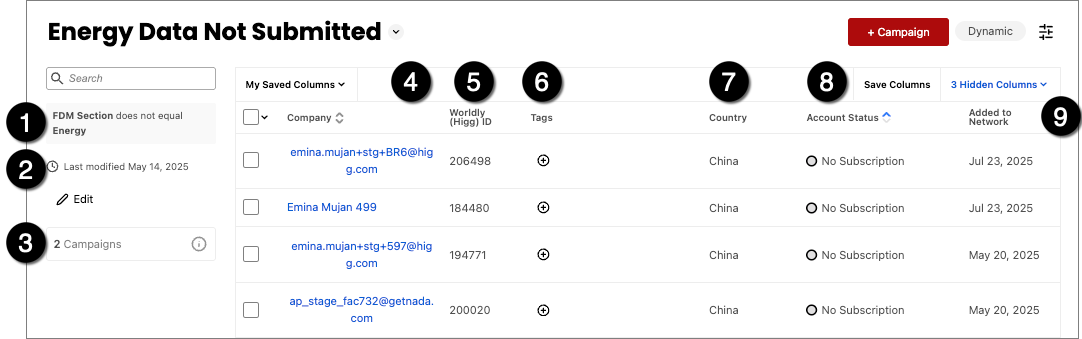
- The filters used to create this segment
- When it was last modified
- How many campaigns this segment is included in
- Company Name
- Worldly ID
- Applicable Tags
- Country
- Account Status
- Date it was added to the network
Use the pencil icon on the left to adjust the filters used to create this segment.
Select the slider icon in the upper right-hand corner to edit the name and segment type.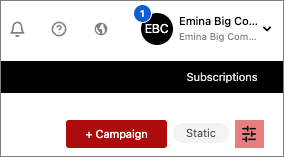
You can also switch between segments by clicking the down arrow next to the segment’s name.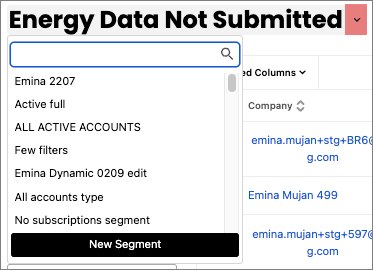
Click here to read more about adding and removing facilities.
How to Create a Segment
There are two ways to create a Segment within WCS, either From your Network or Upload a list or search.
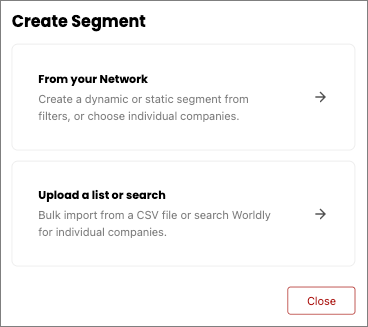
From Your Network
This brings you to the Network tab, where you can create a dynamic or static segment from filters, or choose individual companies.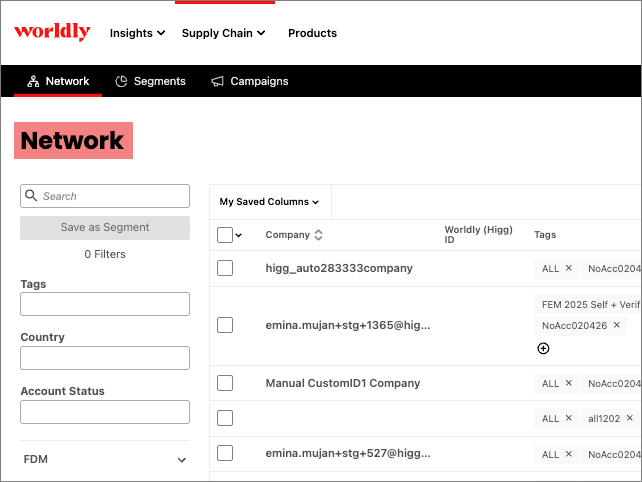
There are three different ways to create segments from the Network tab.
Method 1: Using Filters
- To create a new segment, apply at least one filter and click Save as Segment within the filters column.
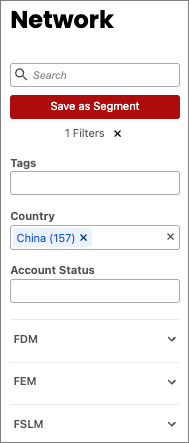
- Enter in the Name and any Notes associated with this segment.
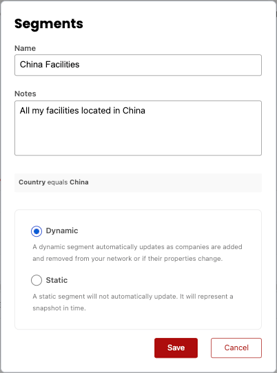
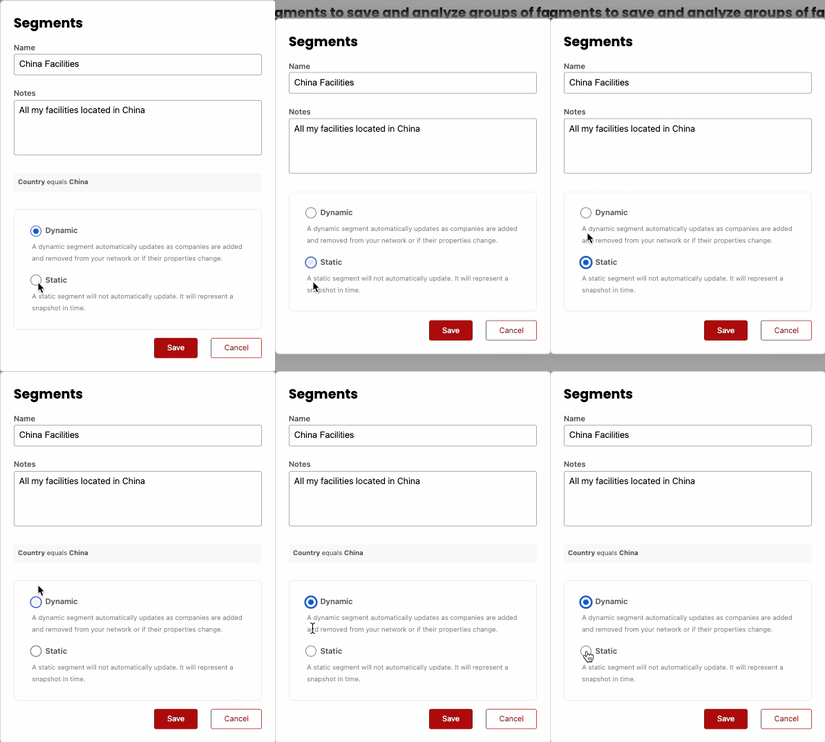
- Indicate whether this is a Dynamic or Static Segment. When saved, this will display a list of factories that align with the type of segment. Select Save.
Method 2: Using Search Keywords
- Enter in a search keyword such as "Portugal" to generally search the Network table for any related records. Any facility with the keyword (ex: "Portugal" in the company name, tags, or country field) will appear in the Network table.
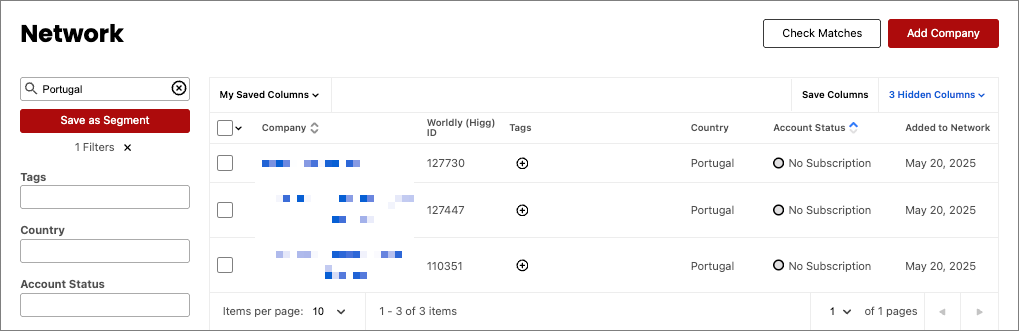
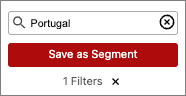
- Select Save as Segment.
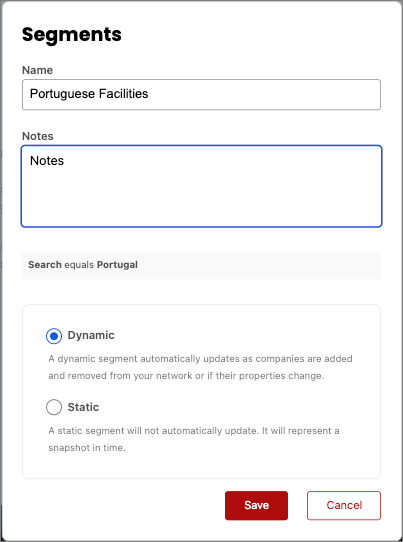
- Enter in the Name and any Notes associated with this segment.
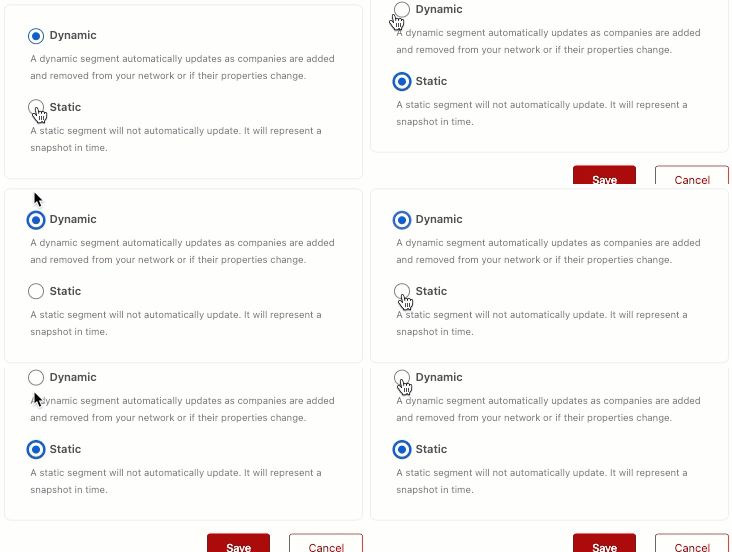
- Indicate whether this is a Dynamic or Static Segment. When saved, this will display a list of factories that align with the type of segment. Select Save.
Method 3: Assessment Status
- In this example, the brand is creating this segment to prepare facilities for the upcoming cadence. Navigate to the FEM dropdown menu in the Network Filters and select 2025.
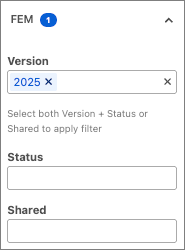
- Enter the following in the Status and Shared fields. This will filter the Network table to all facilities that don't have a FEM 2025 assessment, haven't started a FEM 2025 assessment, or not shared their FEM 2025 assessment.
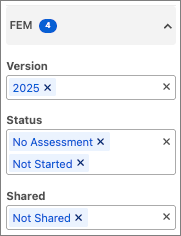
- Status: No Assessment, Not Started
- Shared: Not Shared
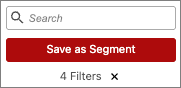
- Select Save as Segment.
- Enter in the Name and any Notes associated with this segment.
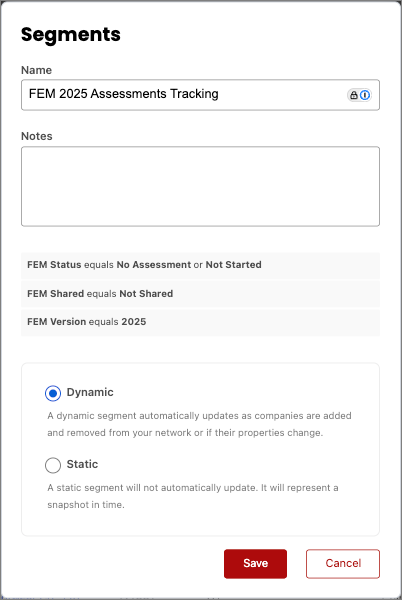
- Indicate whether this is a Dynamic or Static Segment. When saved, this will display a list of factories that align with the type of segment. Select Save.
Upload a List or Search
This option allows you to bulk import from a CSV file or search for individual companies, enabling you to upload directly to a segment. 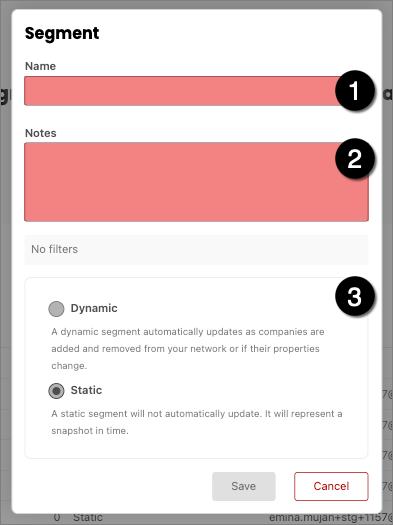
- Name: Enter the name of the segment.
- Notes: Enter in any applicable notes. Anything entered in the Notes section are internal-only notes for users managing the segment.
- Segment Type: Since you are uploading a list without any filters, you will only be able to create a Static segment this way. Click here to learn more about Dynamic segments.
Once this segment is saved, you are redirected to the Upload List page. Select Add Companies to open the bulk upload. If you haven't already, use the Example CSV available on this page to create a list for upload.
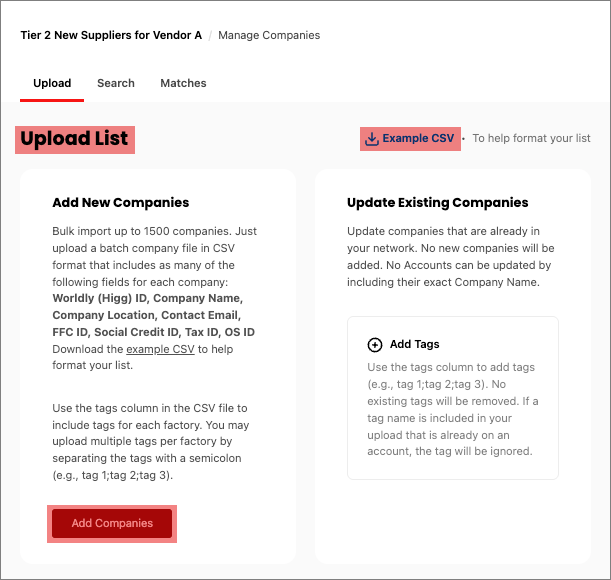
Next, upload your file:
- Drag and drop your file onto the screen. Files can have up to 1,500 rows of data. You can upload the following file formats: CSV, Excel, or JSON. We recommend CSV as a best practice.
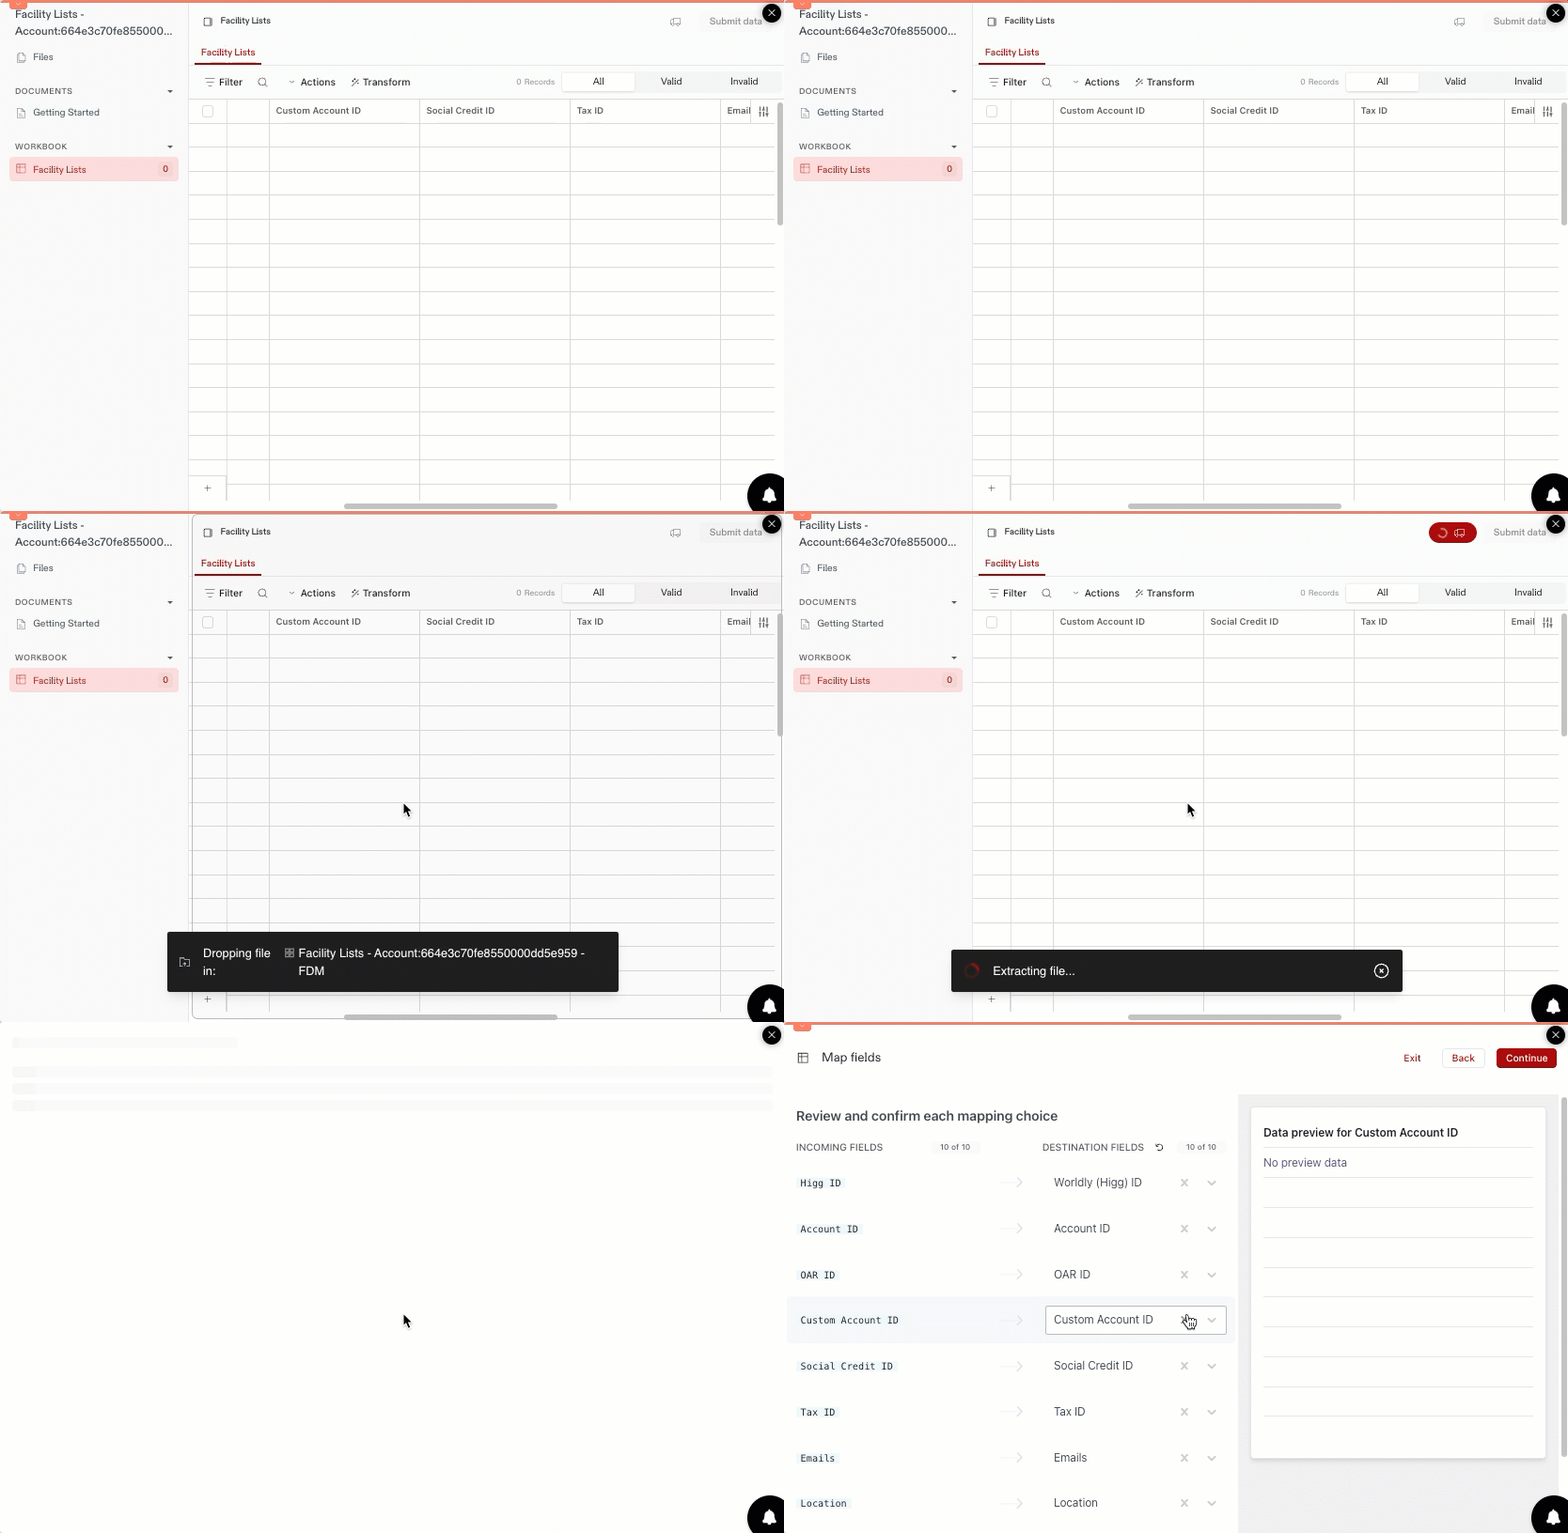
- Review the field mapping before clicking Continue.
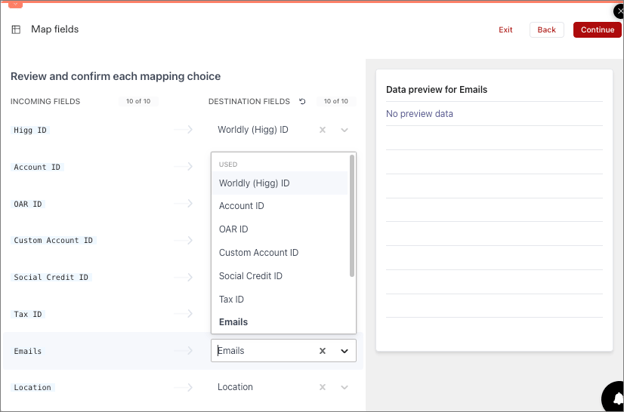
- If a field is missing or incorrect, select the dropdown arrow to select the desired field.
- Preview the data for the category on the right side of the window. Hovering over different rows updates the preview window.
- Select Continue.
- On the next page, review the bulk upload table for any errors. Check the Transformations section below for examples of transforming data.
- After the table has been reviewed and all errors have been resolved, click Submit Data.
- You'll know if you were successful when you see the Success pop up.
Once your file is successfully uploaded: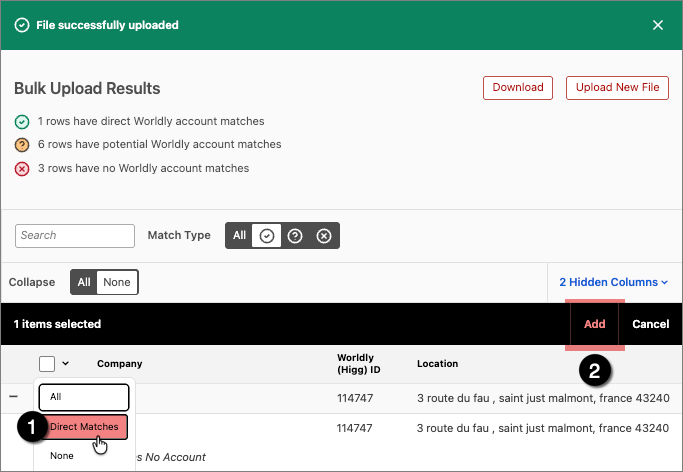
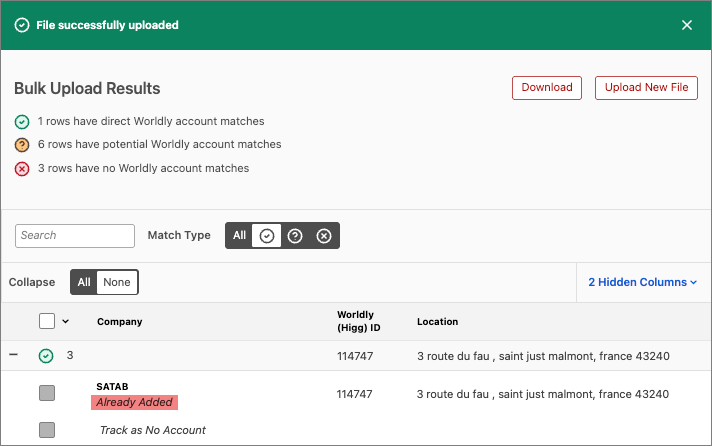
This changes the match to Already Added. When creating a segment by Upload a List or Search, any match results are only matched against the facilities in the segment, not in the network.
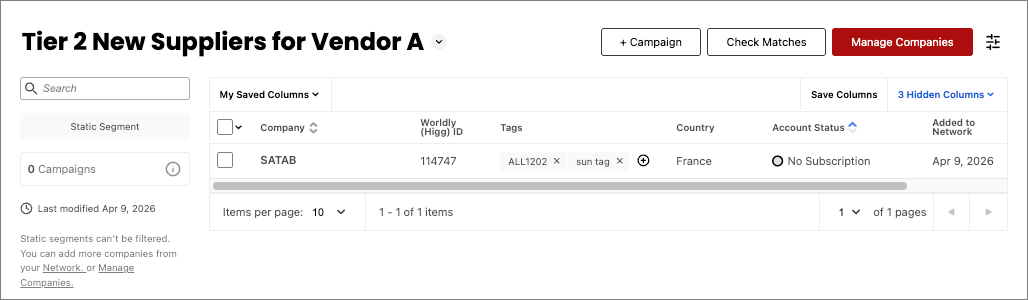
When you go into the segment you created, you'll see it's been added to the segment.
Sharing Segments With Collaborators
Share segments with vendors, sourcing agents, parent manufacturers, or other supply chain stakeholders to give them real-time visibility into your facility data and engagement progress.
Who Can Share Segments?
Segment owners can share segments with other Worldly accounts.
What Recipients Can Do
- View all facilities in the shared segment
- Propose additions or removals of facilities from the segment
- See the same segment data as the owner
How to Share Segments
Note: Dynamic segments are updated to static segments when shared.
- In the top navigation, click Supply Chain > Segments.
- (Optional) Use the search bar to locate your segment.
- Click the name of the segment.
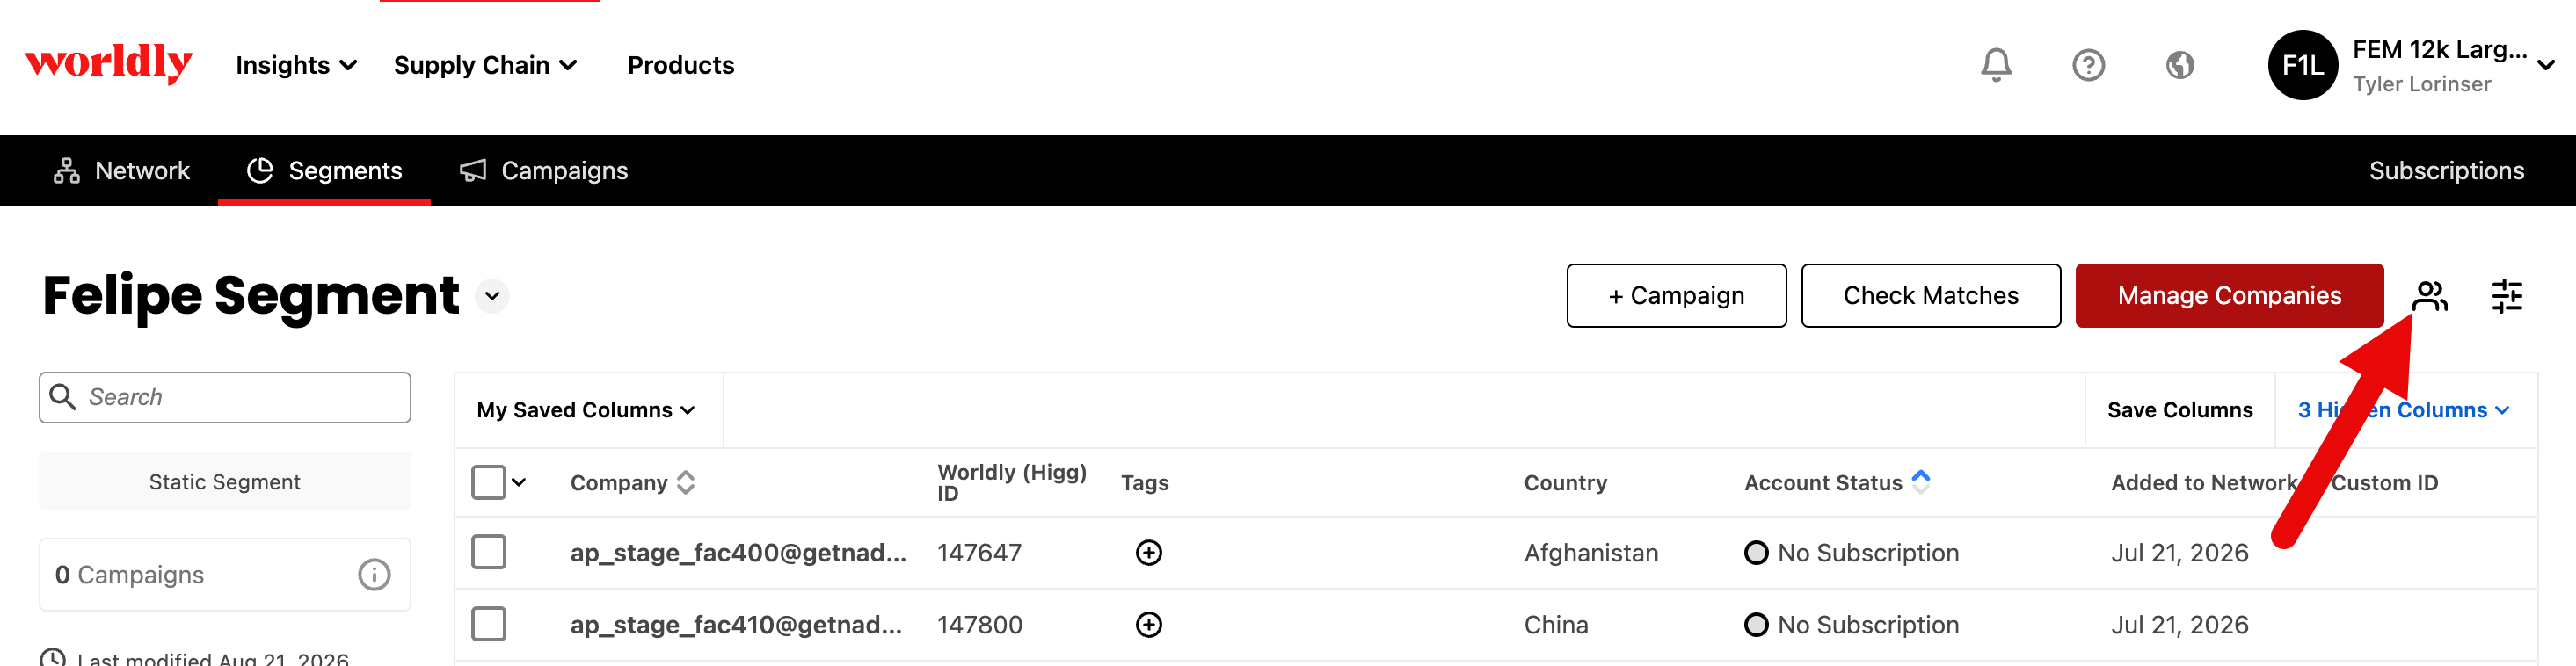
- In the top right corner, click share (person icon).
- A pop-up box appears.
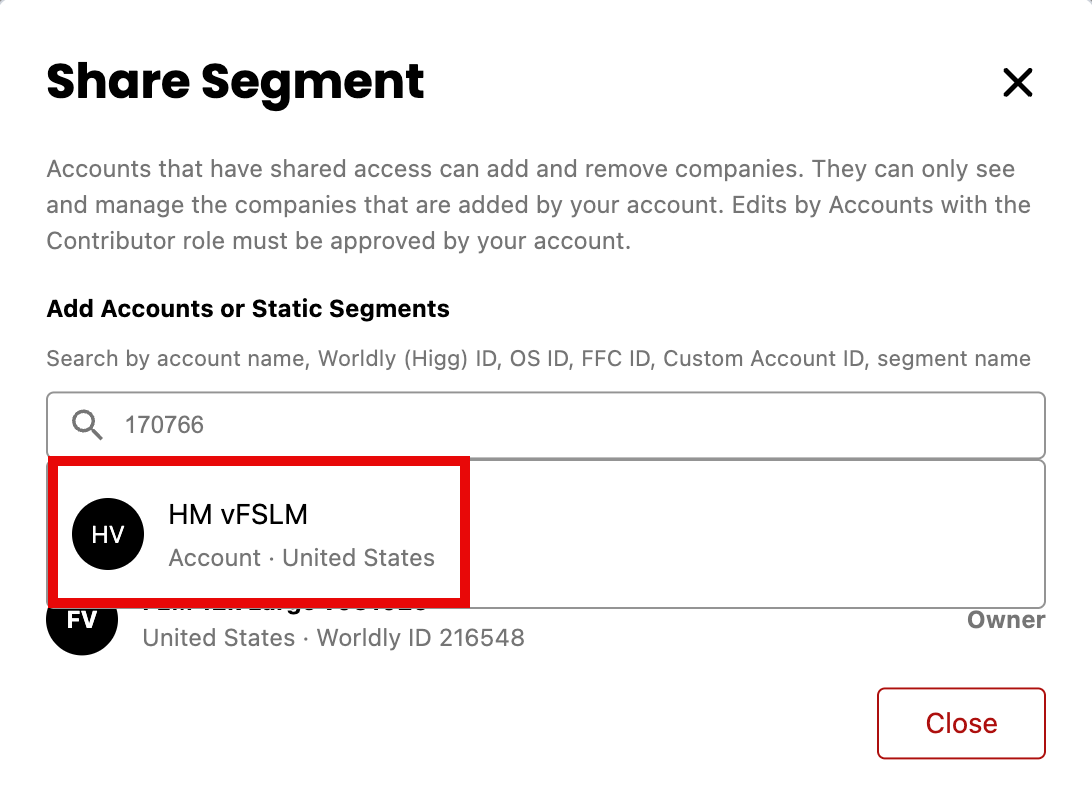
- Use the search bar to locate your individual account or segment.
- Click the name of the account or segment.
- If an account was clicked:
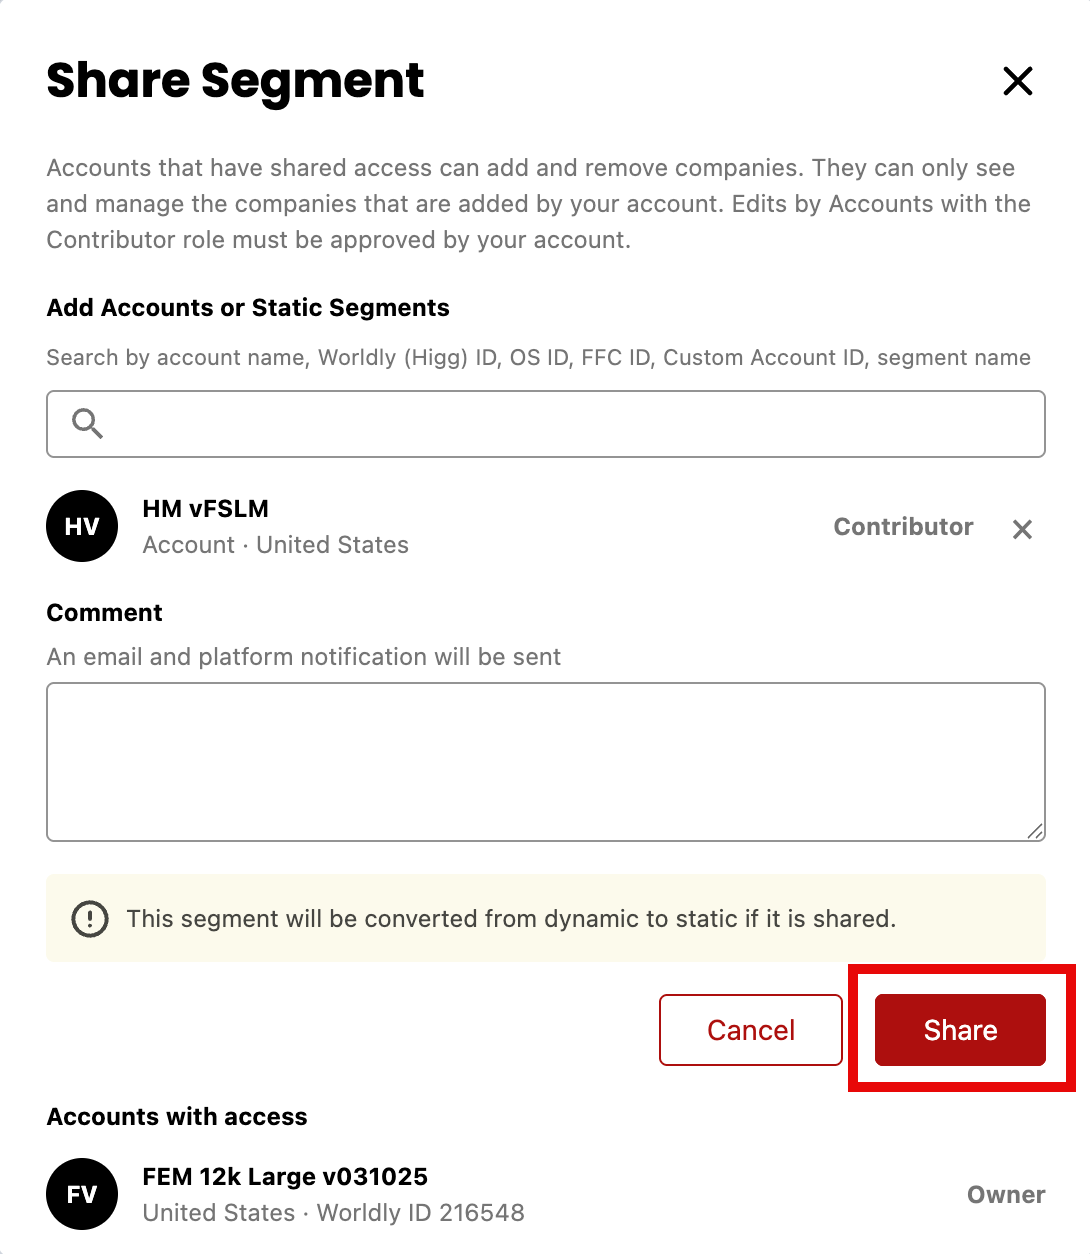
- (Optional) Input a comment.
- Click Share.
- An email is sent to that contributor notifying them of the share.
- If a segment was clicked:
- Click Add Companies
- The brand is notified of the shared review.
Managing Shared Segment Access
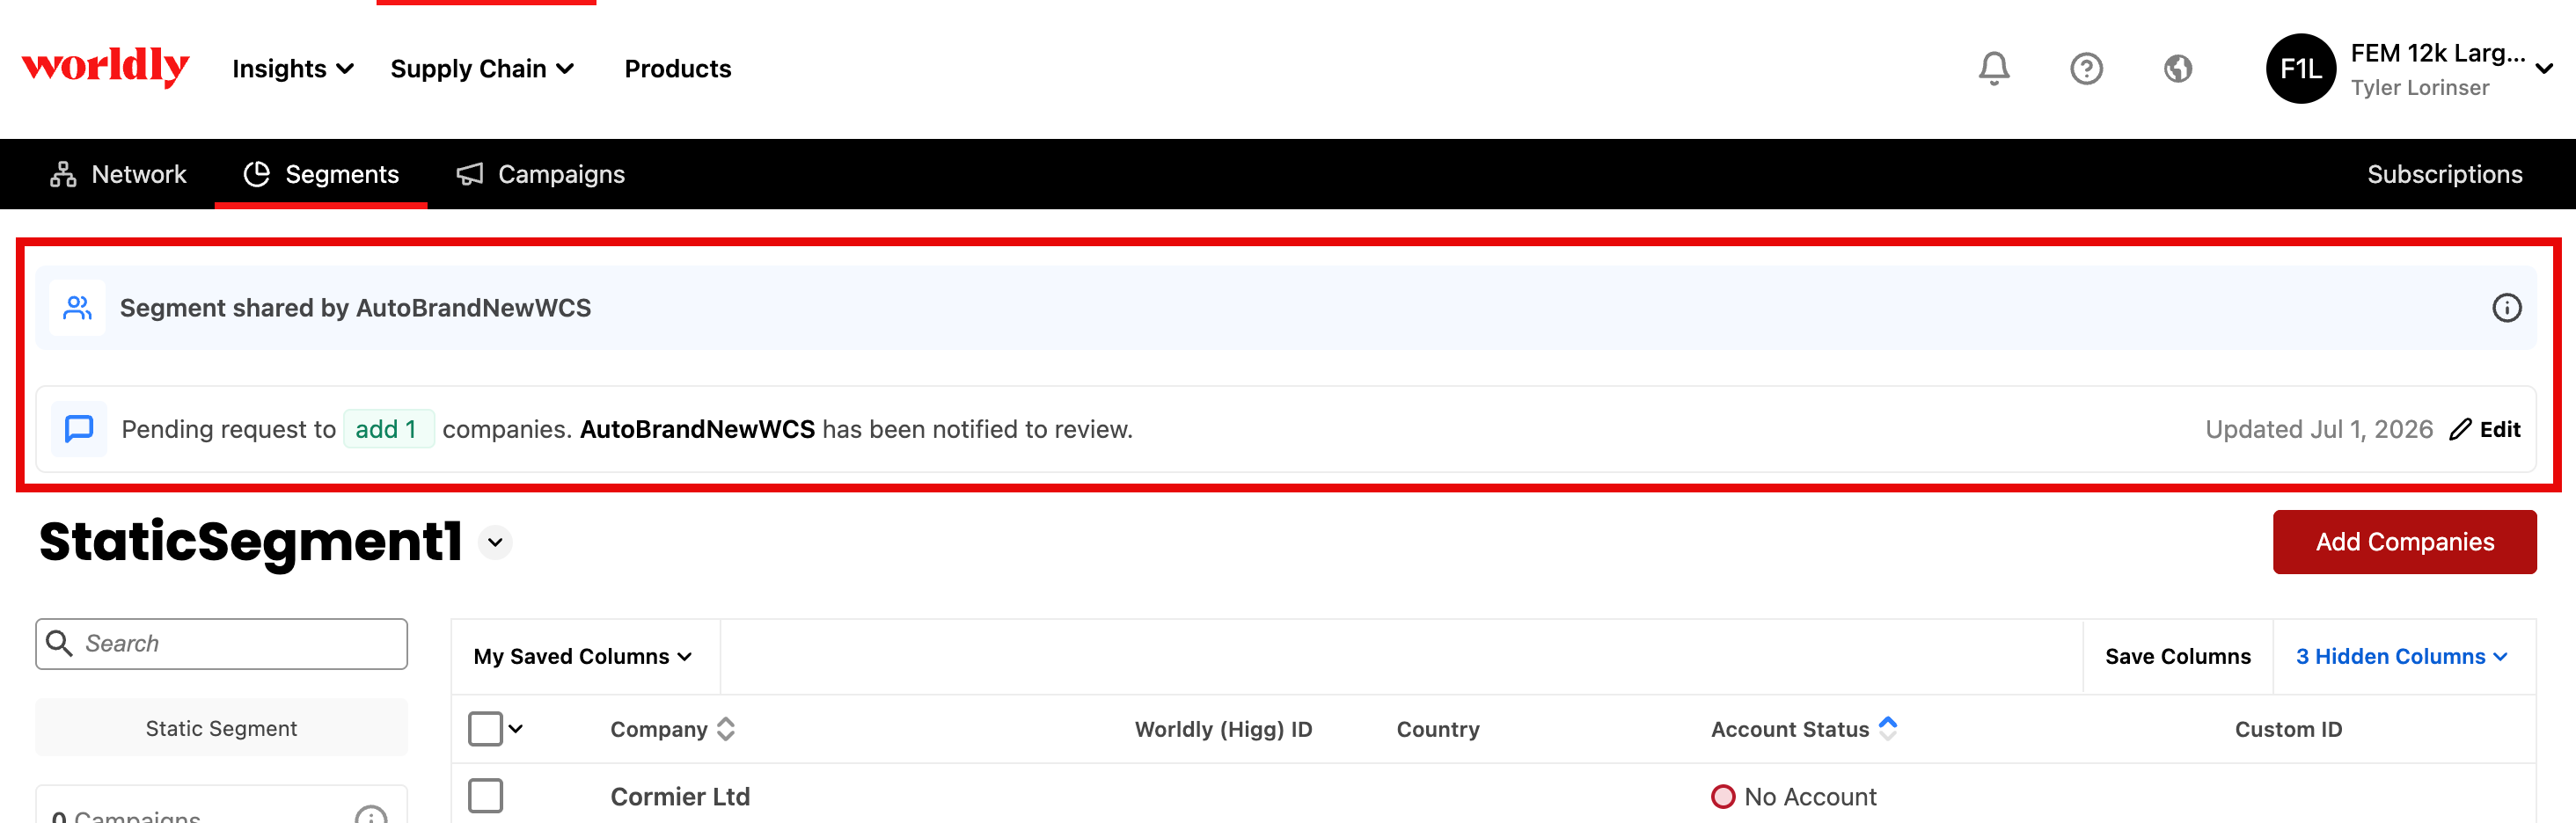
At the top of the page, banners appear letting you know the segment is shared as well as who owns the segment.
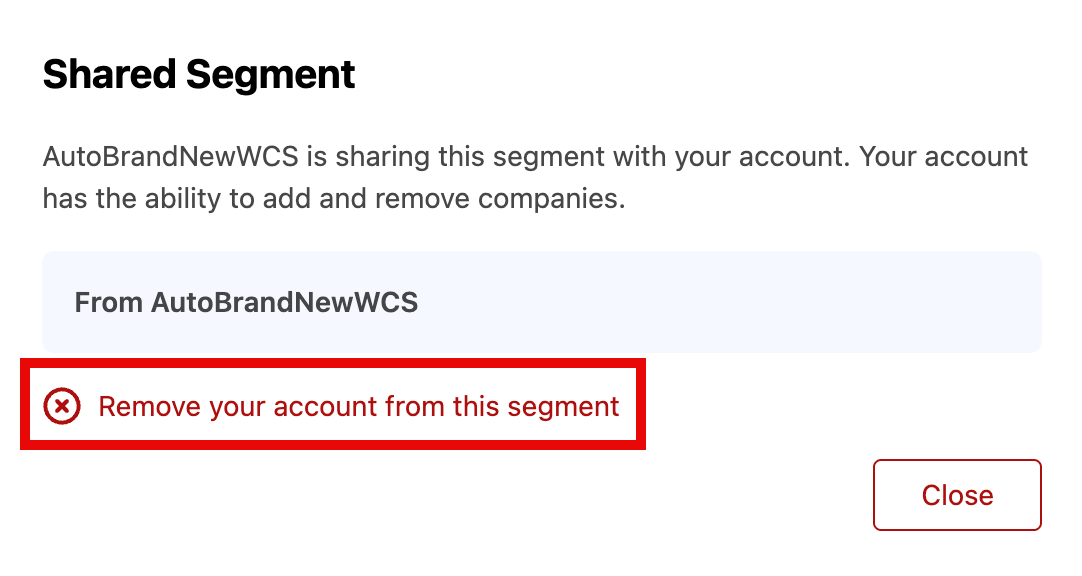
Removing Accounts From Shared Segments
- At the top of the page of the shared segment, click the information icon.
- A pop-up box appears.
- Click Remove your account from this segment.
Module Share Notifications
Module share requests are automatically sent to facilities when emails are enabled in campaigns. There are two locations where you'll see module share notifications: the Supply Chain dropdown and section headers.
If you see blue notification bubbles next to an assessment type, this means:
- There are modules that are shared with you that you haven't been accepted yet
- There are requests to share your module that you haven't yet approved
Supply Chain Dropdown
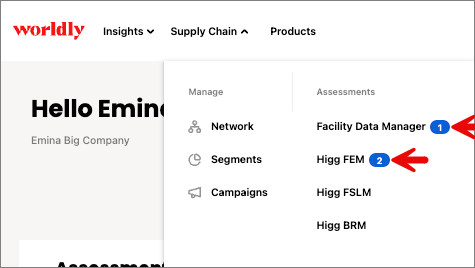
Clicking on the blue notification bubble will bring you to the appropriate Modules table.
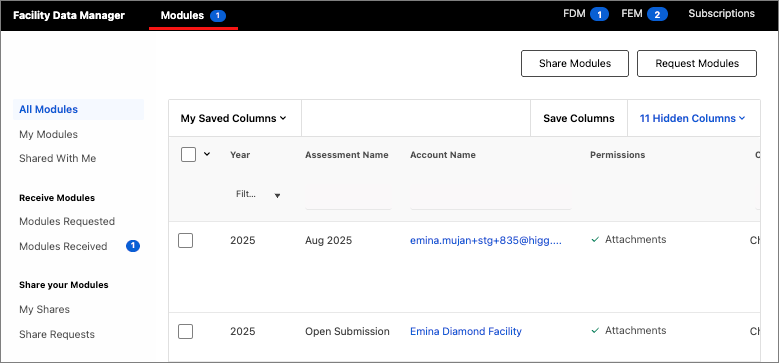
Section Headers
If you have blue notification bubbles in the Supply Chain dropdown, these will be mirrored in the Network, Segments, and Campaigns section headers.

Clicking on the blue notification bubble in the section header opens a pop up to review shares of that assessment type.
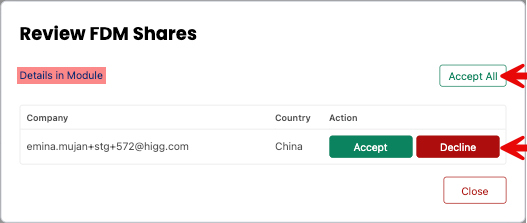
- Select Accept All to bulk accept.
- Select Accept/Decline to review each share individually.
- Select Details in Module if you want to view the request in the corresponding Modules table.
Example
Let’s say you create a segment that has the following qualities:
- Only Chinese facilities
- Data has been submitted for the Energy section of FDM
- Reporting period is 01/2024 to 06/2024
- Dynamic segment
Expand to view Example
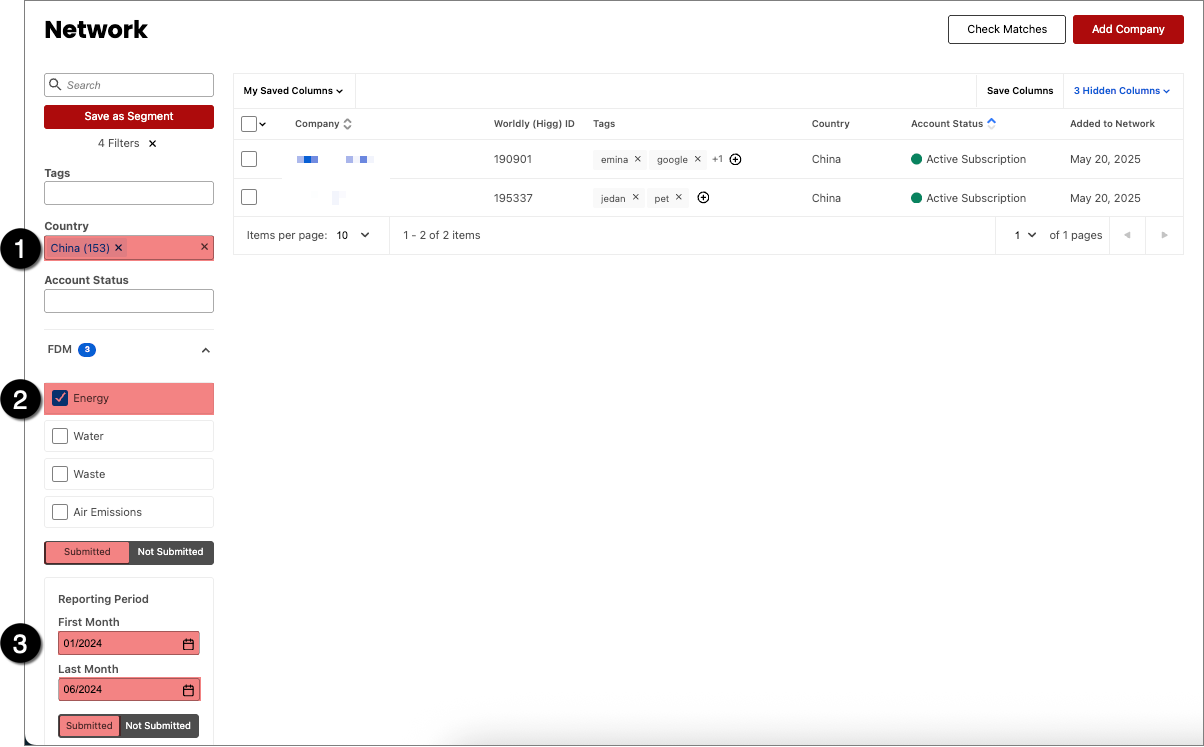
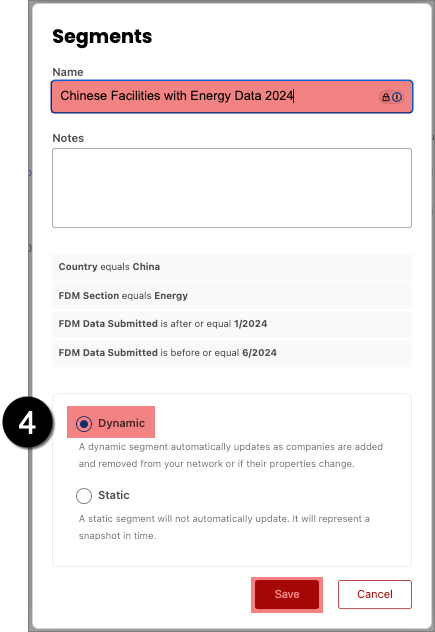
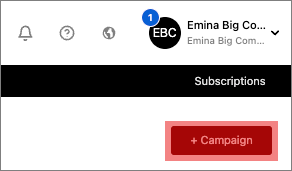
After your segment is created, click +Campaign
Next, select the desired assessment for the campaign. In this case, we'll select FDM.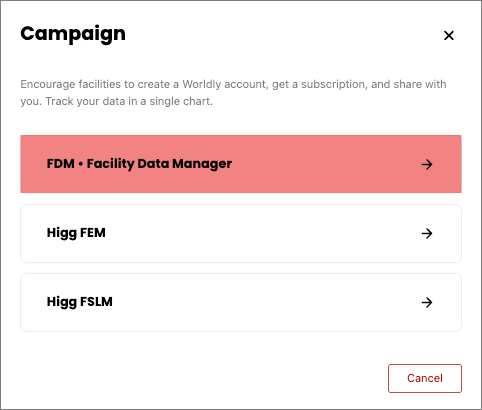
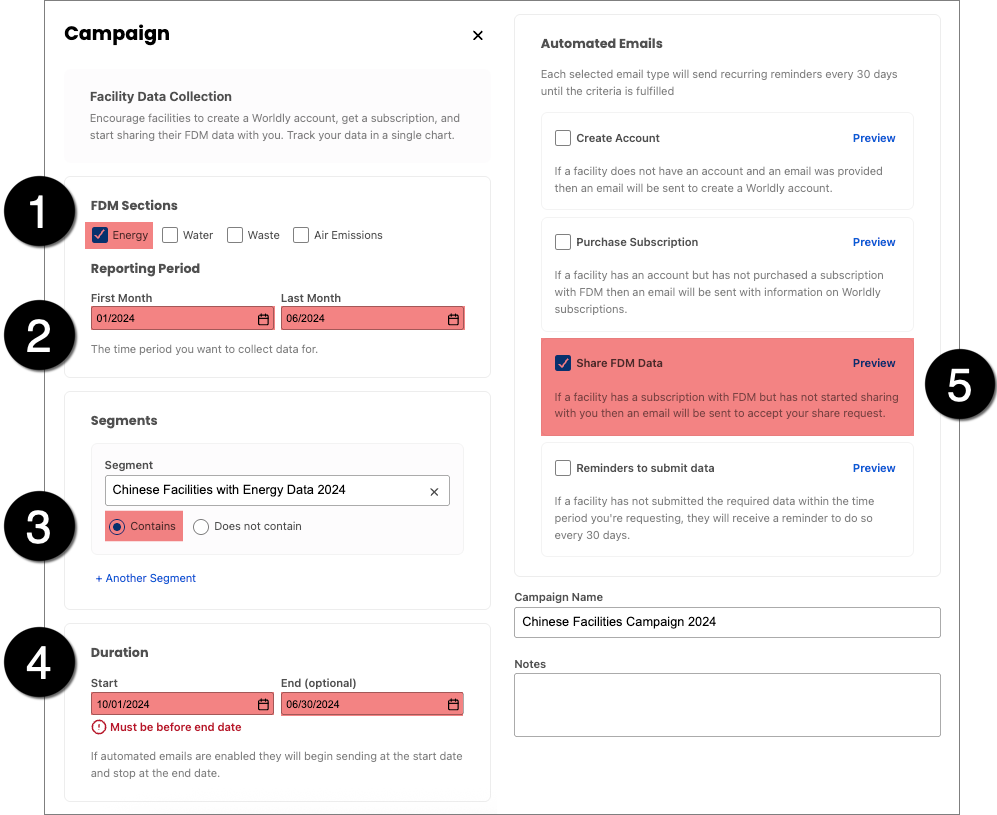
Enter in the following details into the campaign form.
- Collecting FDM Energy data
- The reporting period (or time period the energy data occurred) is from January 2024 to June 2024
- The campaign contains the segment created above
- The duration of the campaign is for Q4 of 2024 (October, November, December 2024)
- The email requests facilities to share FDM data
Who receives this email?
If ABC Clothing Facility is targeted within this campaign and submits energy data for Q1 and Q2 of 2024 (January, February, March, April, May, and June 2024), they will still receive this email due to the fact that they belong to the Segment we created above.
In other words, even though ABC Clothing Facility:
- ✅ Has submitted requested energy data,
- ✅ During the requested reporting period (Q1 and Q2 of 2024),
- ✅ And effectively fulfilled the requirements of the campaign,
ABC Clothing Facility will still be included in the campaign (and receive emails from the campaign) since the emails are sent based on whether a facility is included in the segment.
Bottom Line: Emails are sent based on the criteria used to create segments, as opposed to the criteria used to create a campaign.