Table of Contents
Navigation
You can navigate to a factory’s Account Association tab to create an account association from:
- The Factory List
- Favorite Accounts
Factory List
- Navigate to Supply Chain from the left-hand navigation menu and select Factory List.
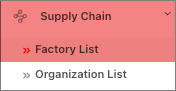
- Search for the factory or organization related to the audit or assessment. Click here to learn how to search for a factory or organization.
- This reveals the Factory account page.
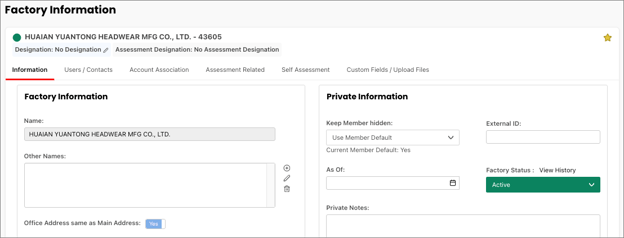
- On the account page, select the Account Association tab.
Favorite Accounts
If you have the account tagged as a favorite, you can also navigate to an account page by:
- Selecting the Dashboard from the left-hand navigation menu.
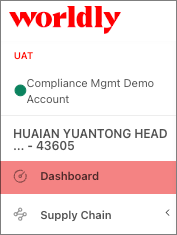
- Under Favorite Accounts, select the account.
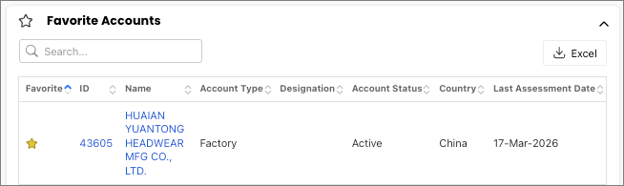
- This reveals the Factory account page.
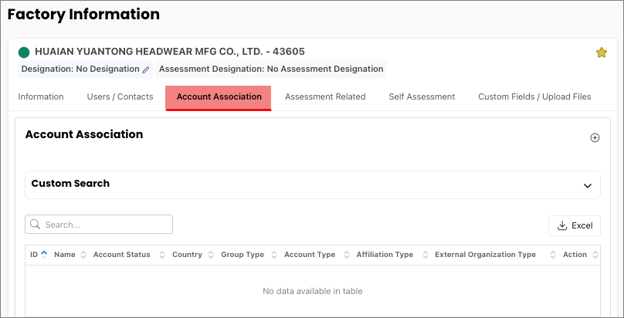
- On the account page, select the Account Association tab.
Account Association
The Account Association tab has two sections:
- Account Association Window
- Member Association and Collaborators
Account Association Window
The Account Association window is where you would add associations to internal or external accounts.
To add an account:
- Click the + symbol in the upper right.
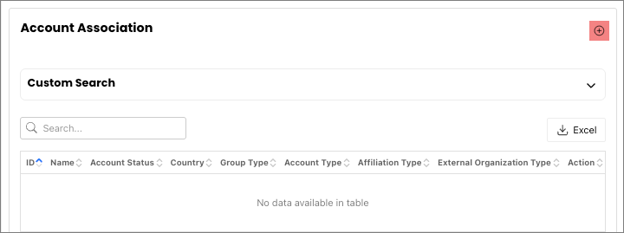
- This opens the Add New Association window. Filter the possible accounts by Account Type, Affiliation, and Type.
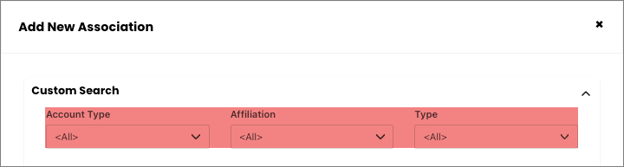
Associate an account by:
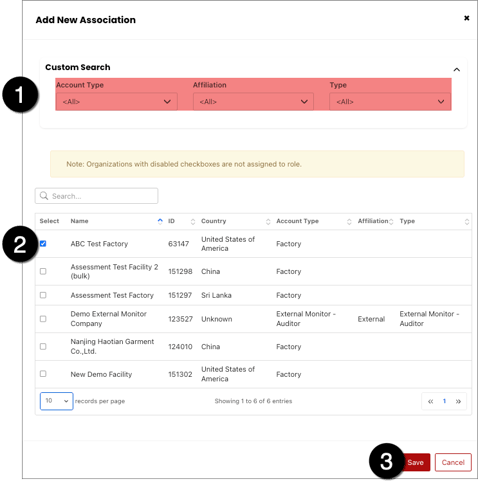
- Using the Account Type, Affiliation, and Type filters to refine your search.
- Select the checkbox for the account you would like to affiliate with.
- Select Save.
Member Association and Collaborators
Member associations that are added in this section allow brands and internal users the appropriate security permissions to access your information.
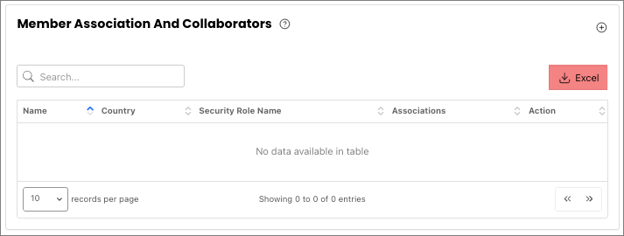
The level of access a member collaborator has is determined by the assigned security role you grant them. Select Excel to download data from the Member Association and Collaborators table.
In order to enable member collaboration, the security role for a member must be set up before they are available in the Member Accounts dropdown menu.
To add a brands account to the security role you are granting:
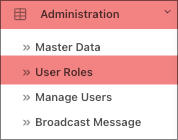
- Navigate to Administration from the left-hand navigation menu and select User Roles.
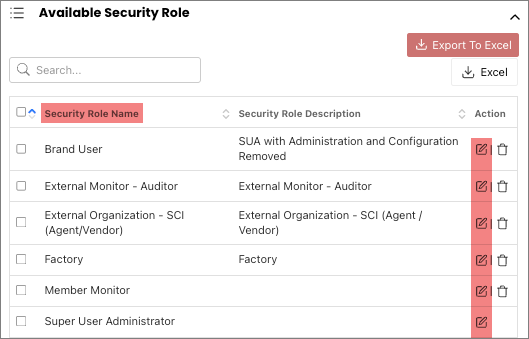
- Go to the Available Security Role window and choose the Security Role Name you want to grant another brand and click on the Edit button.
Next, navigate to the Manage Accounts for Brand User section.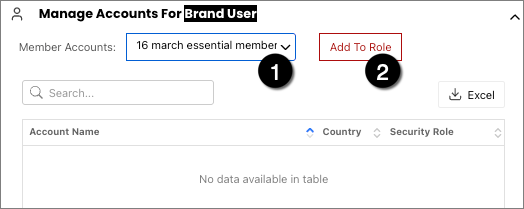
- Select the Member Accounts dropdown menu and identify the Member Account you wish to collaborate with.
- Select Add to Role. Internal users of the brand you added can now access information relative to the security role assigned to the member.
Next, return to the Account Association tab and navigate to the Member Association and Collaborator window.
- Select the + symbol
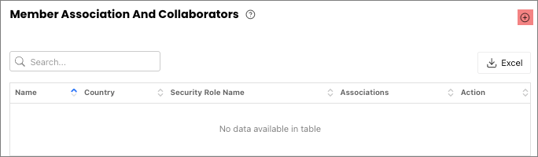
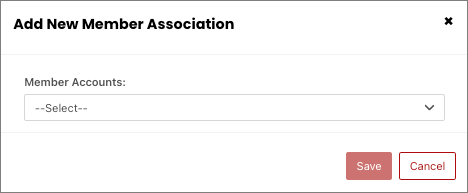
- In the Add New Member Association popup, choose the member account you want to associate with. Select Save.